

Filed under: Audio & Video Workflows · Free Creator Software
Guide updated October 7, 2026. We tested Adobe Podcast Enhance, Audacity Noise Reduction, and OBS Noise Suppression on spoken recordings with steady fan noise. Here are the controls, listening results, and a way to test your own recording without sacrificing the voice.
Our result: Adobe gave the most usable fan cleanup. Audacity kept the voice natural but removed little fan with our conservative settings. Both OBS methods we tried left fan noise and made the voice sound robotic. These are results from our recordings, not a ranking for every microphone or setting.
Prepare a fair comparison
Keep an untouched copy. Use the same spoken passage for each tool, including a pause and quiet words. Match playback volume when comparing files; louder can sound better without being cleaner. Upload only audio you have permission to send. We extracted audio from our room recording before the Adobe test; the room video was not uploaded.
1. Adobe Podcast Enhance
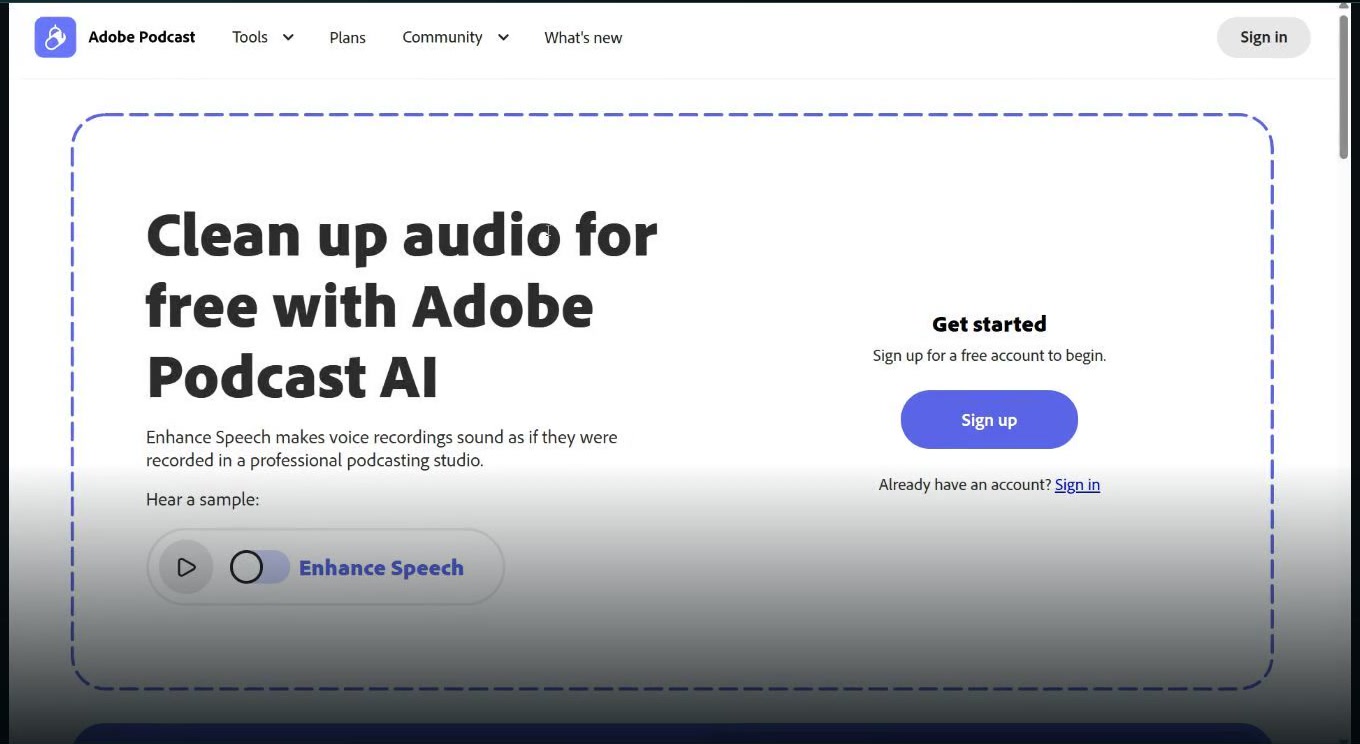
Adobe was the easiest rescue in our fan example. Check Adobe’s current free-plan limits before uploading; access and limits can change. This screenshot is the public entry screen from our recording, so it does not show a signed-in upload.
- Prepare an audio-only file and confirm it plays from start to finish.
- Sign in, open Enhance Speech, select one audio file, and wait for processing. Our test used the default free path; it did not use paid strength sliders, bulk upload, or a trial.
- Switch between original and enhanced playback on the same passage. Download the result and listen again outside the web page.
In this test, Adobe’s fan and distant-microphone outputs were judged the strongest and most natural of the tested approaches. It still cannot guarantee recovery of voice detail absent from the source.
2. Audacity Noise Reduction
Audacity works locally. Our fan sample included a short section containing noise but no speech; the distant-microphone sample did not have a valid noise-only profile, so we left it as an unchanged control.
- Open a copy of the file. Select a few seconds of fan noise with no speech.
- Choose Effect → Noise Removal and Repair → Noise Reduction → Get Noise Profile.
- Select the passage to clean and reopen Noise Reduction. Preview before applying. Our recorded trial used 3 dB reduction, 6.00 sensitivity, and 3 smoothing bands; these are test settings, not universal presets.
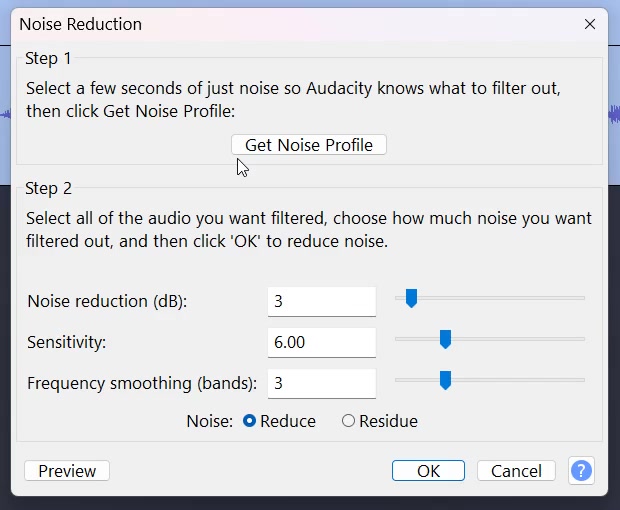
Listen to Residue as well: recognizable words there mean the filter is removing some voice. Export a separate file and compare at similar volume. In our conservative trial, the voice stayed natural but background noise fell only about 1.7 dB. A weak result with one setting does not rule out another careful Audacity trial. Read the Audacity manual for its limits.
3. OBS Noise Suppression
OBS applies the filter during capture. Record a short check before a live stream or long session: a moving meter cannot tell you whether the voice sounds robotic.
- In OBS, select the audio source to filter. Open Filters and add Noise Suppression under Audio/Video Filters.
- Try one method per test take. Our recording tested RNNoise and Speex at −30 dB. The close-ups show the actual method choices and level.
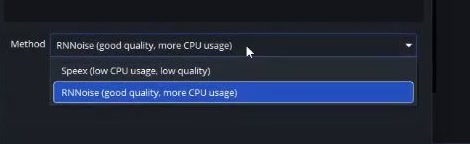
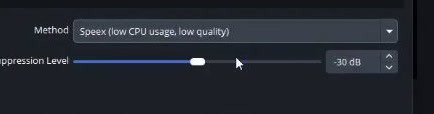
- Listen back to normal speech, quiet words, and pauses against the unfiltered source. In our test, both methods left fan noise and made the voice robotic, so neither passed our listening check.
The OBS filter guide explains the methods. If the filter harms the voice, reduce or remove it.
Compare the results
| Tool | Best fit | Our fan result |
|---|---|---|
| Adobe Podcast | Existing voice file | Strongest usable cleanup |
| Audacity | Local edit with a noise-only profile | Natural voice; little fan reduction |
| OBS | Live capture after testing | RNNoise and Speex failed our listening check |
Watch the demonstration
The written lesson stands on its own. The video lets you hear the before-and-after comparisons.