
Filed under: Free Creator Software · Tutorials
A practical Photopea walkthrough shows how to remove a white background, preserve transparency, and export a PNG without Photoshop.
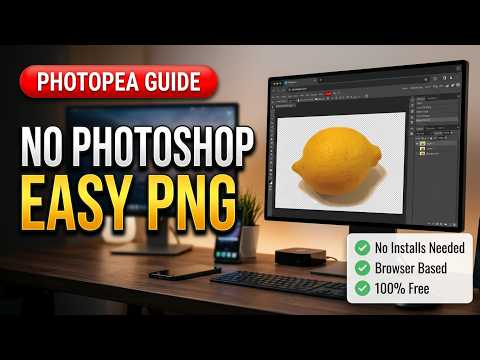
Can Photopea remove a plain white background and produce a usable transparent image without Photoshop? To answer it, the Click Test opened the image in Photopea, selected and removed the white background, checked the transparency grid, and exported the result as a PNG.
The browser-based workflow handled this common background-removal task without requiring Photoshop. This is most relevant to creators who need a transparent graphic or thumbnail element from a simple image.
How the Photopea workflow works
The demonstrated tool or workflow was Photopea.
- Open the source image in Photopea.
- Select the white background while protecting the subject.
- Delete the selected background and confirm the checkerboard transparency pattern.
- Export as PNG so the transparent pixels are preserved.
Steps used to preserve transparency
- The white background was removed.
- The checkerboard preview confirmed transparency.
- The PNG export preserved the transparent result.
The browser-based workflow handled this common background-removal task without requiring Photoshop.
When this method may need more cleanup
The interface includes ads and can feel crowded. Difficult edges and professional production workflows may need more careful tools or manual cleanup.
The Click Test Conclusion
For this plain-background test, Photopea completed the task and exported the expected transparent PNG.
Prefer to watch the demonstration?
The written article above contains the essential answer. The public video is available as an optional walkthrough.