

Filed under: Audio & Video Workflows · Free Creator Software
I left a fan running while I recorded a short voice clip, so there’d be real background noise to listen for. The screenshots below come from my September 17 session with Adobe Podcast Enhance Speech. Adobe may change the screen or the options available in your account, but the basic idea is simple: try it, listen, and decide whether the result sounds better to you.
1. Pick the clip you want to clean up
First, hang on to your original recording. Then open Enhance Speech and choose the clip you want to try. I used a seven-second WAV file called ADOBE_A_FAN_INPUT.wav, with the fan running in the background.
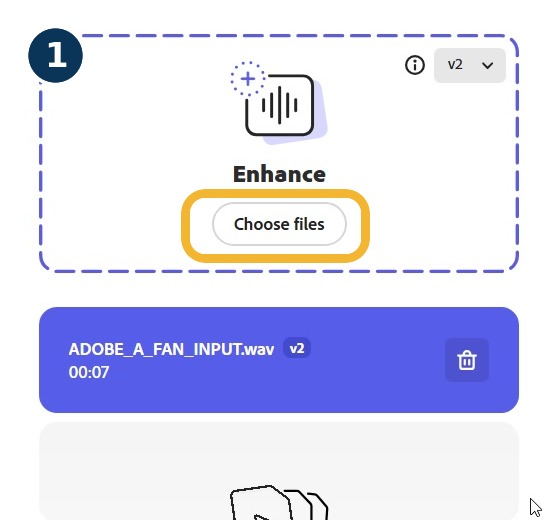
Pick a clip where you can hear the voice clearly along with the noise you want to reduce. If the words are hard to make out before you start, the tool has a tougher job.
2. Let Enhance finish
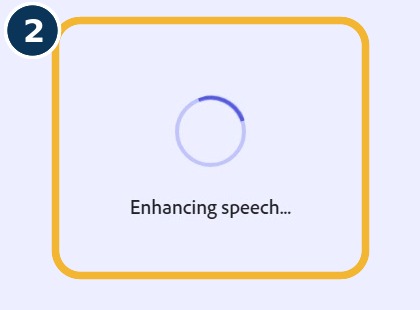
Once the clip is loaded, give Enhance a moment to work. My screen showed “Enhancing speech…” while it processed. That little spinner is just the wait sign—let it finish before you decide how the audio sounds.
3. Listen to both versions
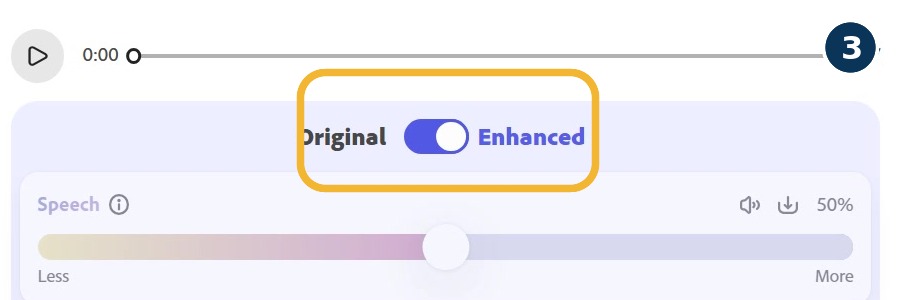
Now flip between Original and Enhanced. Listen to the same words at about the same volume. Is the fan quieter? Does the voice still sound like a person talking, especially at the ends of words? A quieter background is nice; a voice that sounds like it’s calling from the bottom of a fish tank is not.
4. Keep the version you like
If you like what you hear, click Download to save the enhanced clip. Keep it separate from your original so you can go back if needed. The button is in the spot shown here in my recording; Adobe may move things around.

Did it sound better?
For me, the fan faded back without wrecking the voice, so I’d use the cleaned version for this clip. Give your own ears the final say. If you lose words or the voice sounds strange, keep the original and try a different approach. Noise cleanup isn’t magic, even when the button makes it look easy.
What we saw with free access
In my September 17 session, Enhance processed the clip without me starting a trial. The screen did offer a trial for extra strength controls, which I didn’t start. Adobe can change its free options, so check what your account shows before planning a project around it.
If you want the full Adobe, Audacity, and OBS comparison, the complete lesson is at the bottom of this page. You can also read our three-tool background-noise test.
Watch the full lesson
This is the complete three-tool video. The screenshots above walk through the Adobe part one step at a time.