

Codex can help turn your video clips into a finished edit, but a clear brief and a complete review still matter. This guide walks through a supervised workflow: copy your footage into a work folder, approve an editing plan, check the exported video and sound, and upload only the version you have reviewed.
What you’ll need: a Windows PC with Codex CLI already set up (Codex running in a terminal, not the regular ChatGPT chat page), video clips you are allowed to use, and enough space to save a new export. This is the supervised T-Rex test workflow. The sample edit used existing footage, a vertical 9:16 frame, source sound, and a human review before its 24.9-second test clip was uploaded.
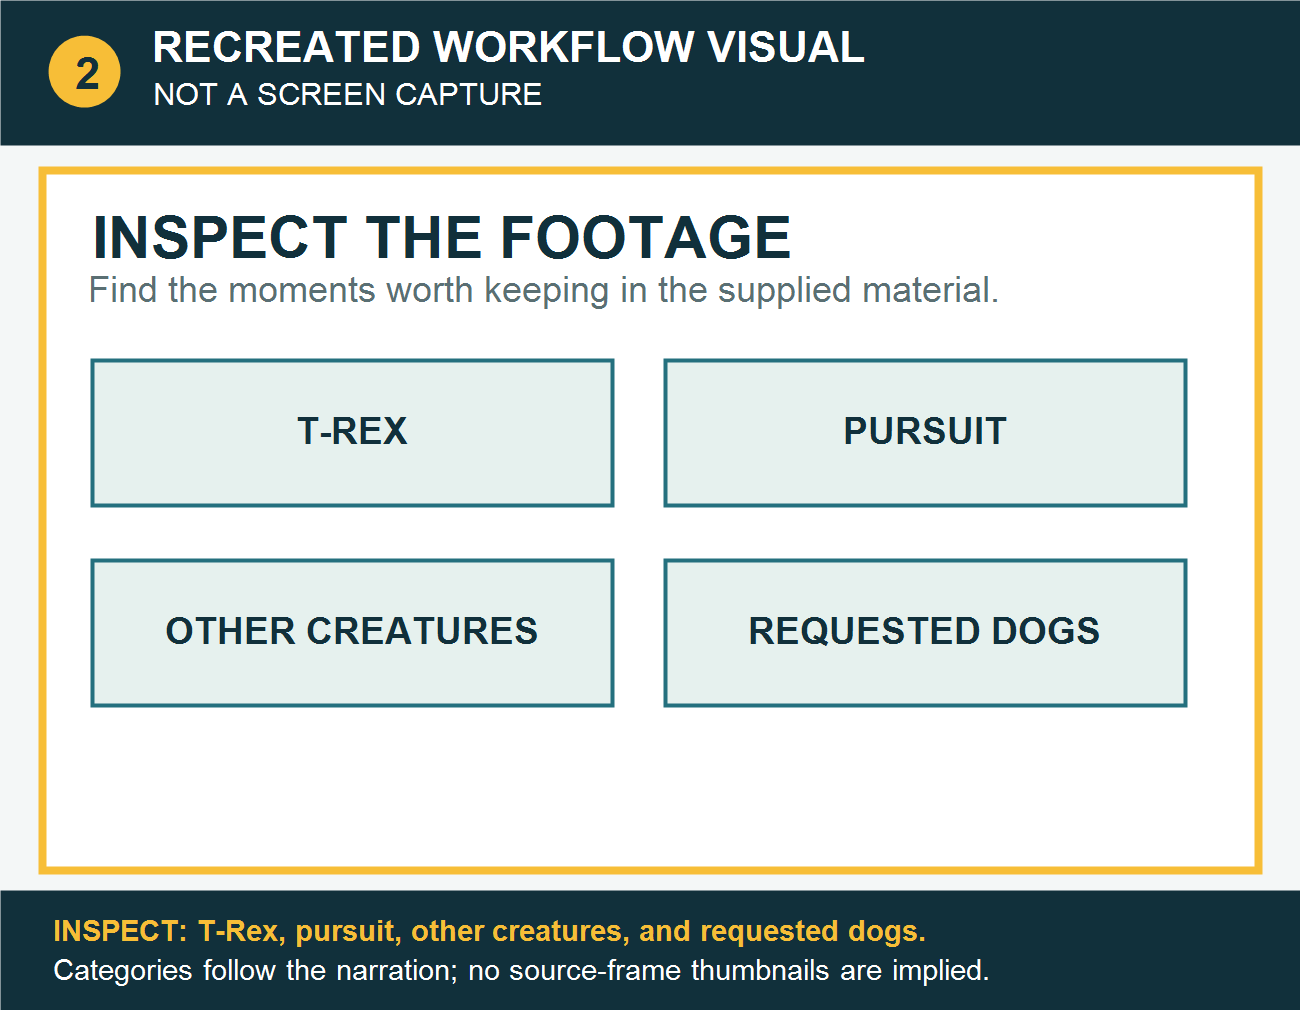
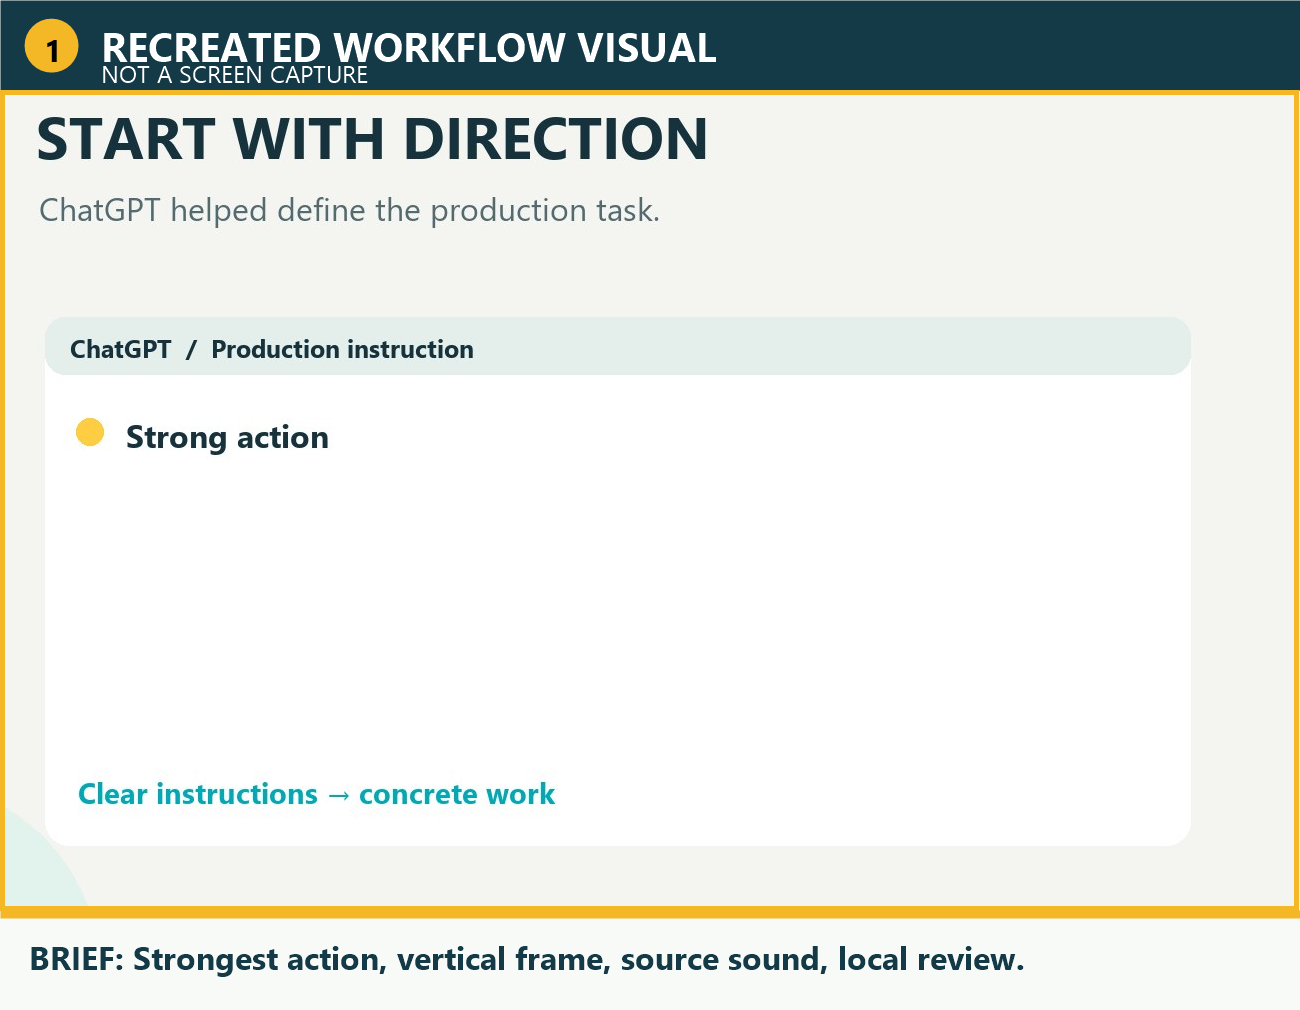
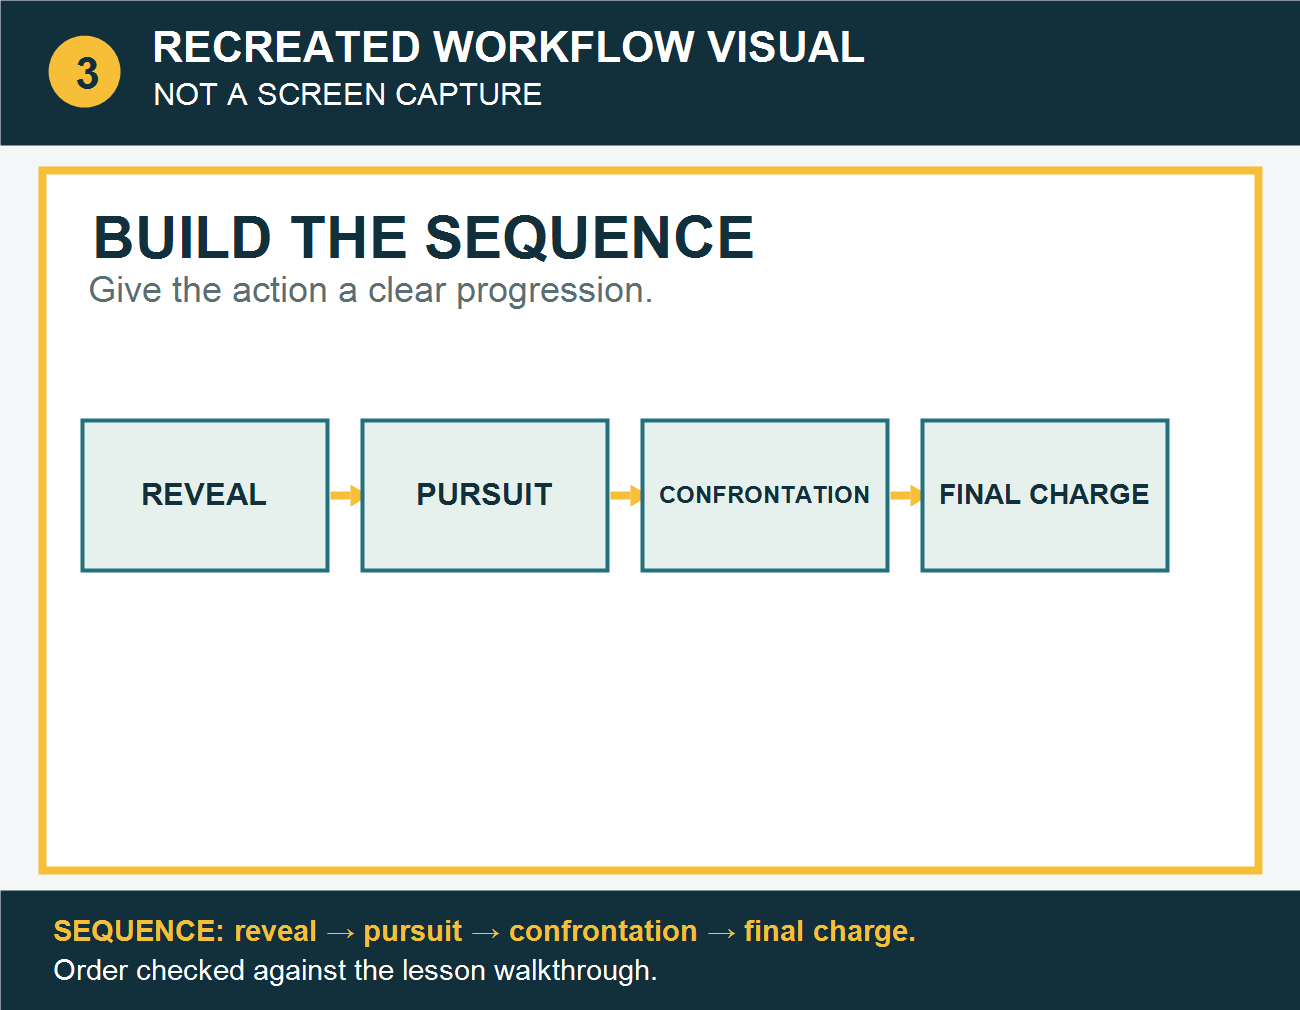
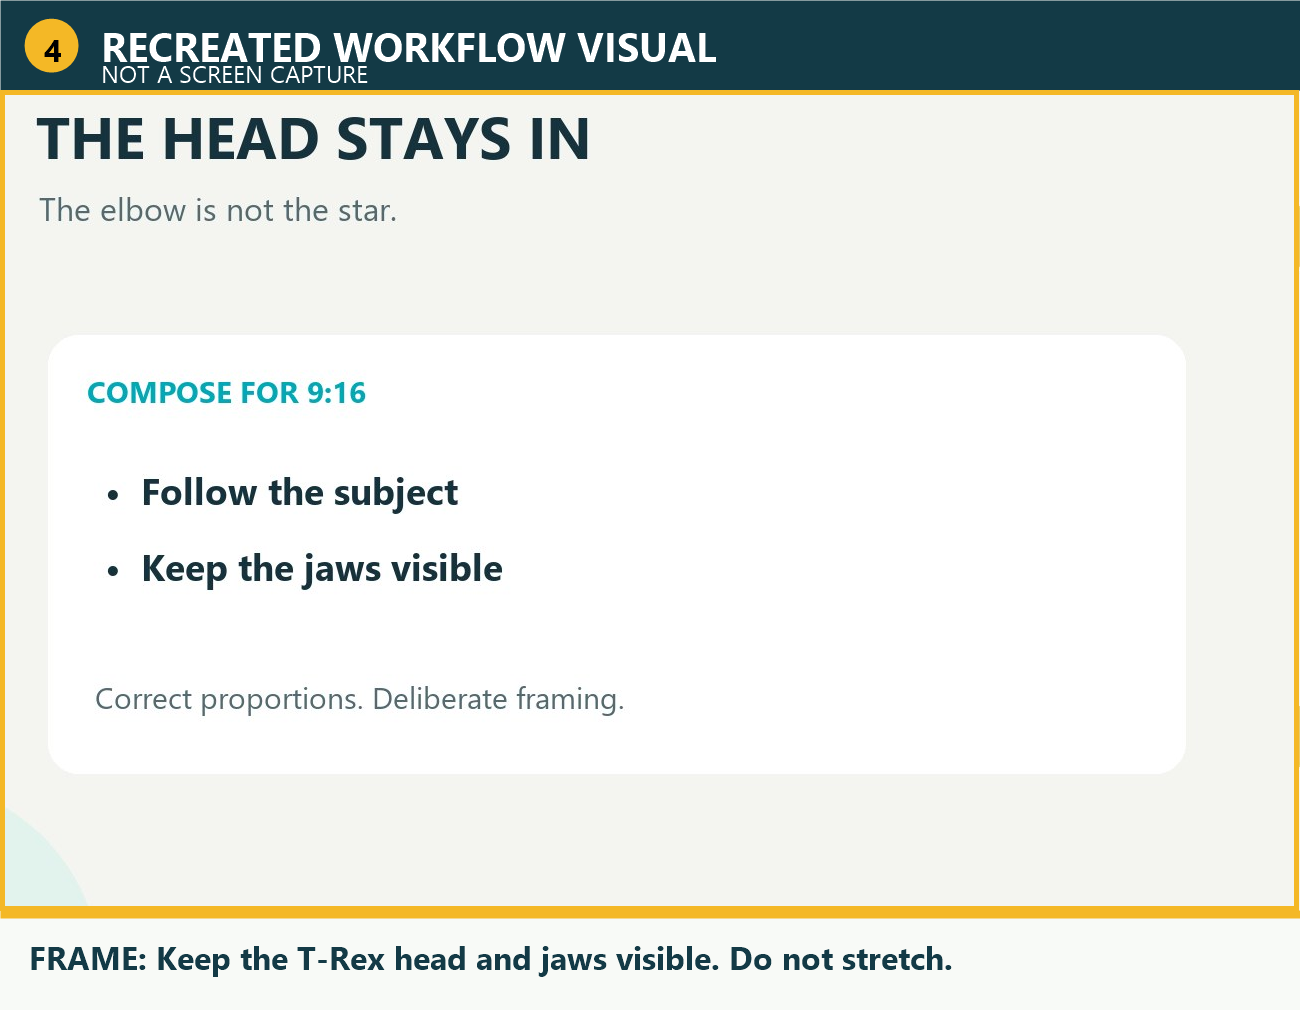
About the pictures: These numbered diagrams explain each stage; they are not screenshots of Windows, Codex, or YouTube Studio. The click and typing directions below name what to do on your own screen. The original project did not preserve a recording of those app screens, so I will not draw pretend buttons and call them real.
1. Put your clips in a safe work folder
On Windows: click the yellow File Explorer icon on the taskbar. Open the folder that contains your video clips. Make a new folder for this job, then copy the clips you plan to use into it. Work on copies so your originals stay safe.
For example, you might create a folder named Video Test inside Documents. Remember where you put it; you’ll use that folder path in the next step.
2. Open Codex in that folder
Click Start, type PowerShell, and open Windows PowerShell. In the terminal window, type the command below, replacing the example path with the folder you just made. Keep the quotation marks if the folder name has spaces.
cd "C:\path\to\your\Video Test"Press Enter. To check that you are in the right place, type this and press Enter:
Get-LocationThe path shown should end in your video folder. Now type codex and press Enter. When the Codex session opens, you are ready to give it instructions. If Windows says it does not recognize codex, stop there; Codex is not ready in that terminal yet.
3. Ask Codex to identify the footage before it edits
Click in the Codex prompt area, paste this, and press Enter. This first request is just an inventory; it should not change any files.
List the video files in this folder. Tell me each file name and which clips you recommend using for a short action edit. Do not edit, move, rename, or delete anything yet. Suggest an order for the clips, then wait for my approval.Read Codex’s answer. Check that it named the clips you actually copied into the folder. If it picked the wrong files, tell it which filenames to use before you approve the plan.
4. Give Codex a clear edit request
After you approve the clip list and order, paste a second instruction. This sample is based on the tested brief; it is a reusable example, not a word-for-word copy of the original prompt.
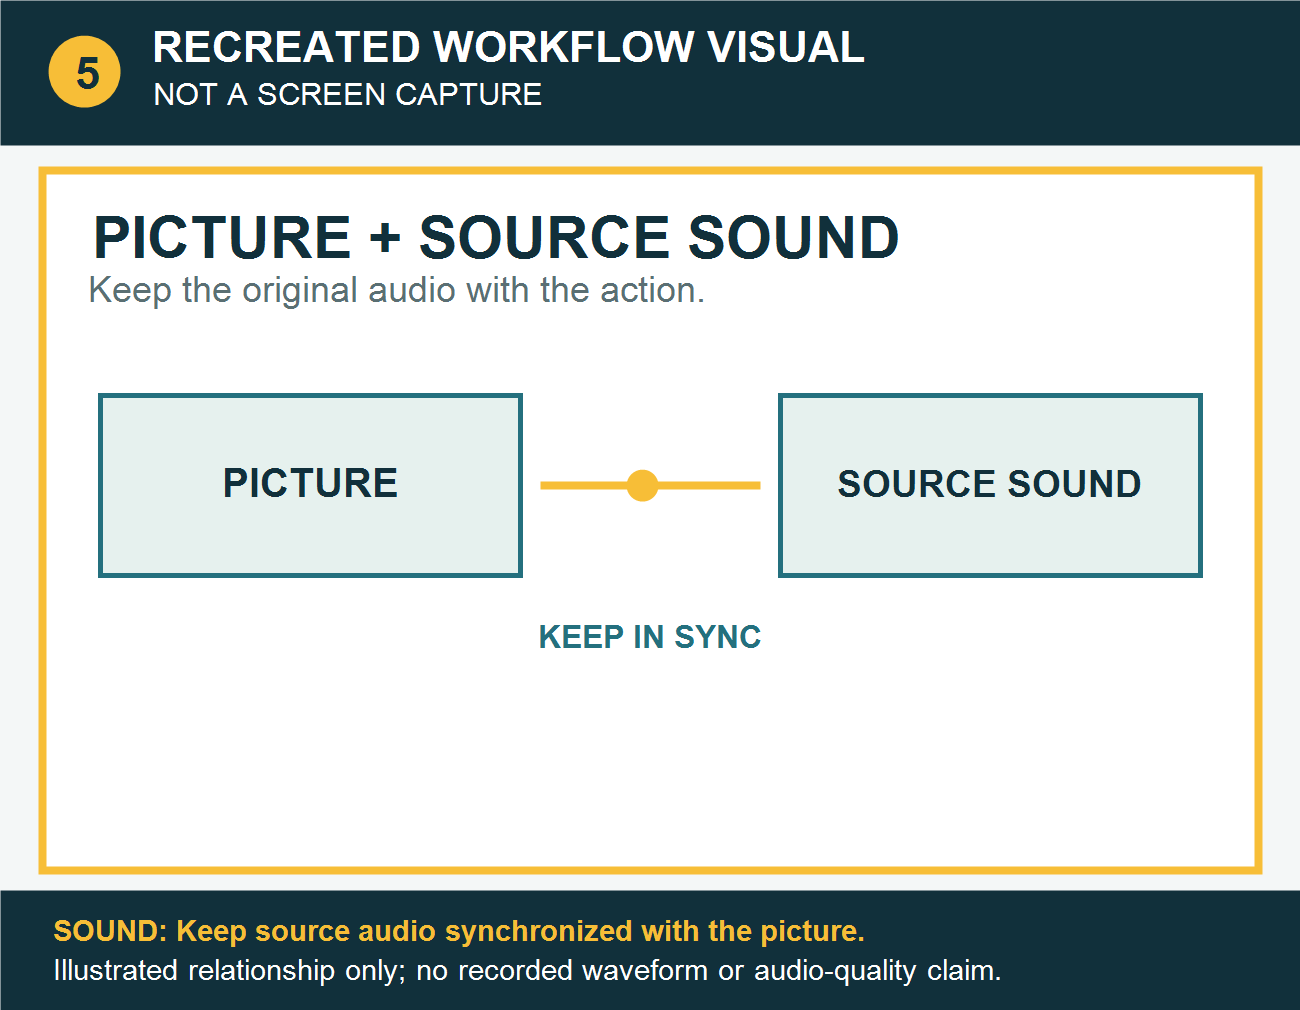
Use only the video files I approved in this folder. Make a vertical 9:16 action edit at 1080 x 1920. Start with the strongest action, then use the approved clips in this order: [type the order here]. Keep the main subject and important action inside the frame. Do not stretch the footage. Keep the original source sound synchronized with the picture. Give the video a clear ending. Save a new review file in an output folder; do not overwrite or delete my source clips. Do not upload anything. Before you start, tell me what you plan to do and wait for my approval.Replace the bracketed part with the clip order Codex proposed and you approved. If you want a different shape, length, or sound, change those instructions before you approve the plan. The test brief did not preserve exact editing-app menus, crop numbers, or export settings, so this guide sticks to the instructions we can verify.
5. Check the edit plan, then let Codex work
Codex should explain its plan before making the edit. Look for four things: the approved clips, their order, a vertical frame, and a new output file that leaves the originals alone. If one is missing, reply with the correction. When the plan is right, tell Codex to proceed.
In this test, the action was arranged as a reveal, a pursuit, a confrontation, and a final charge. The exact order will depend on your own clips; the point is to give the viewer a beginning, a build, and a finish rather than a pile of unrelated shots.
6. Review the new video on your computer
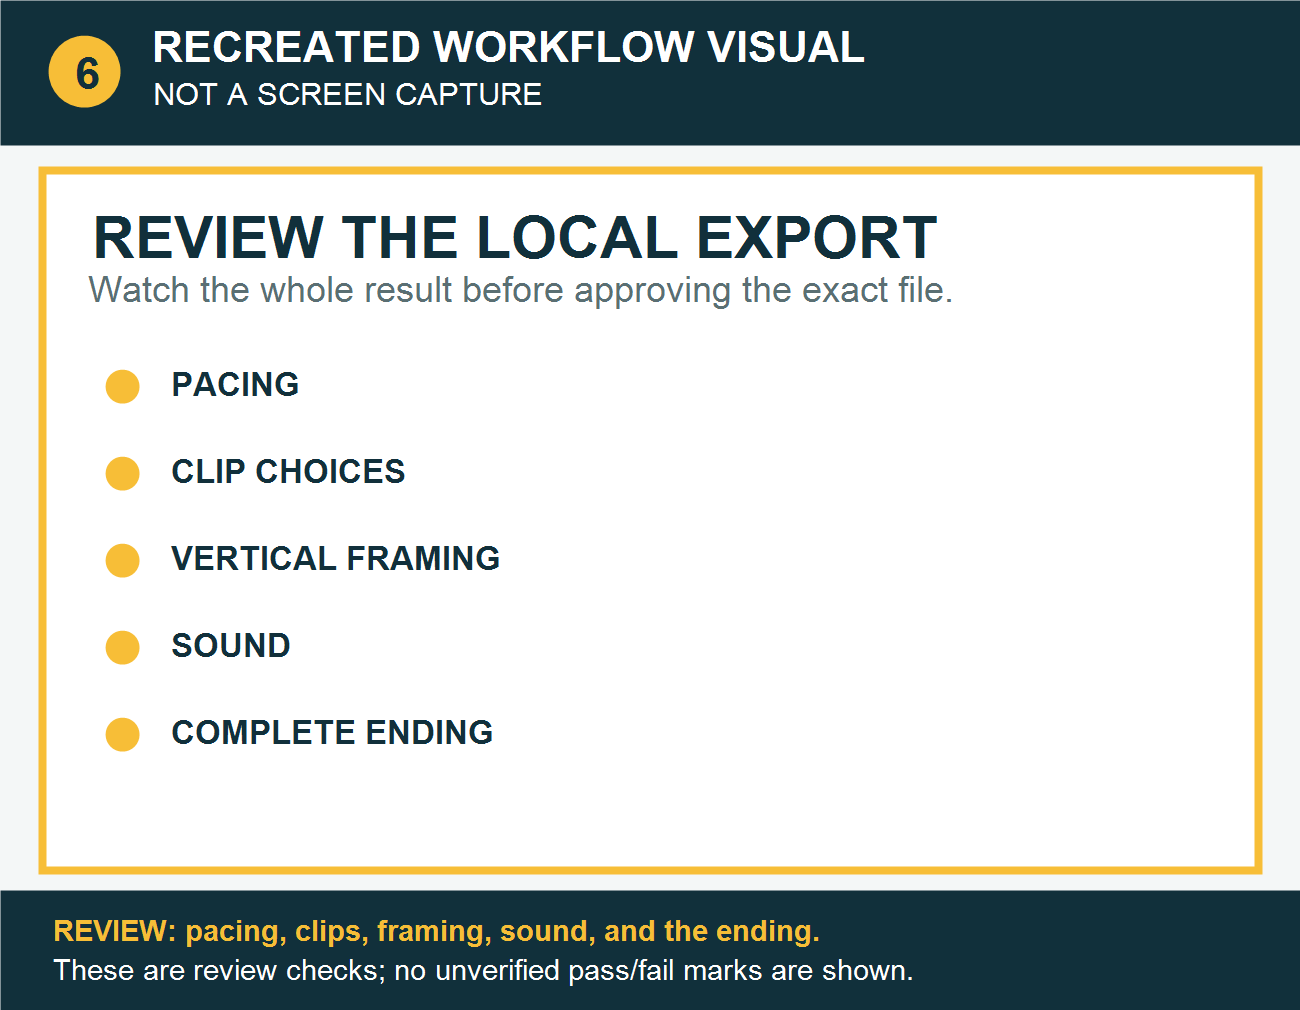
When Codex says the export is ready, open File Explorer and go to the output folder it named. Double-click the new MP4 to play it. Watch the entire video and listen to it; don’t approve it just because the first few seconds look good.
- Is the video vertical, with the main subject and important action still visible?
- Does the picture keep its normal proportions instead of stretching?
- Does the original sound line up with the action?
- Does the ending feel complete?
For the T-Rex edit, the brief specifically called out keeping the dinosaur’s head in view. If something is wrong, go back to the same Codex session, describe what you saw, and ask it to make a new review export. Then watch that new file from beginning to end. In this test, the exact export was reviewed and approved before it was uploaded.
7. Upload the approved file in YouTube Studio
Only after you approve the local export, open YouTube Studio in your browser. At the top of Studio, click Create, then click Upload videos. In the upload window, click Select files, browse to your output folder, choose the approved MP4, and click Open.
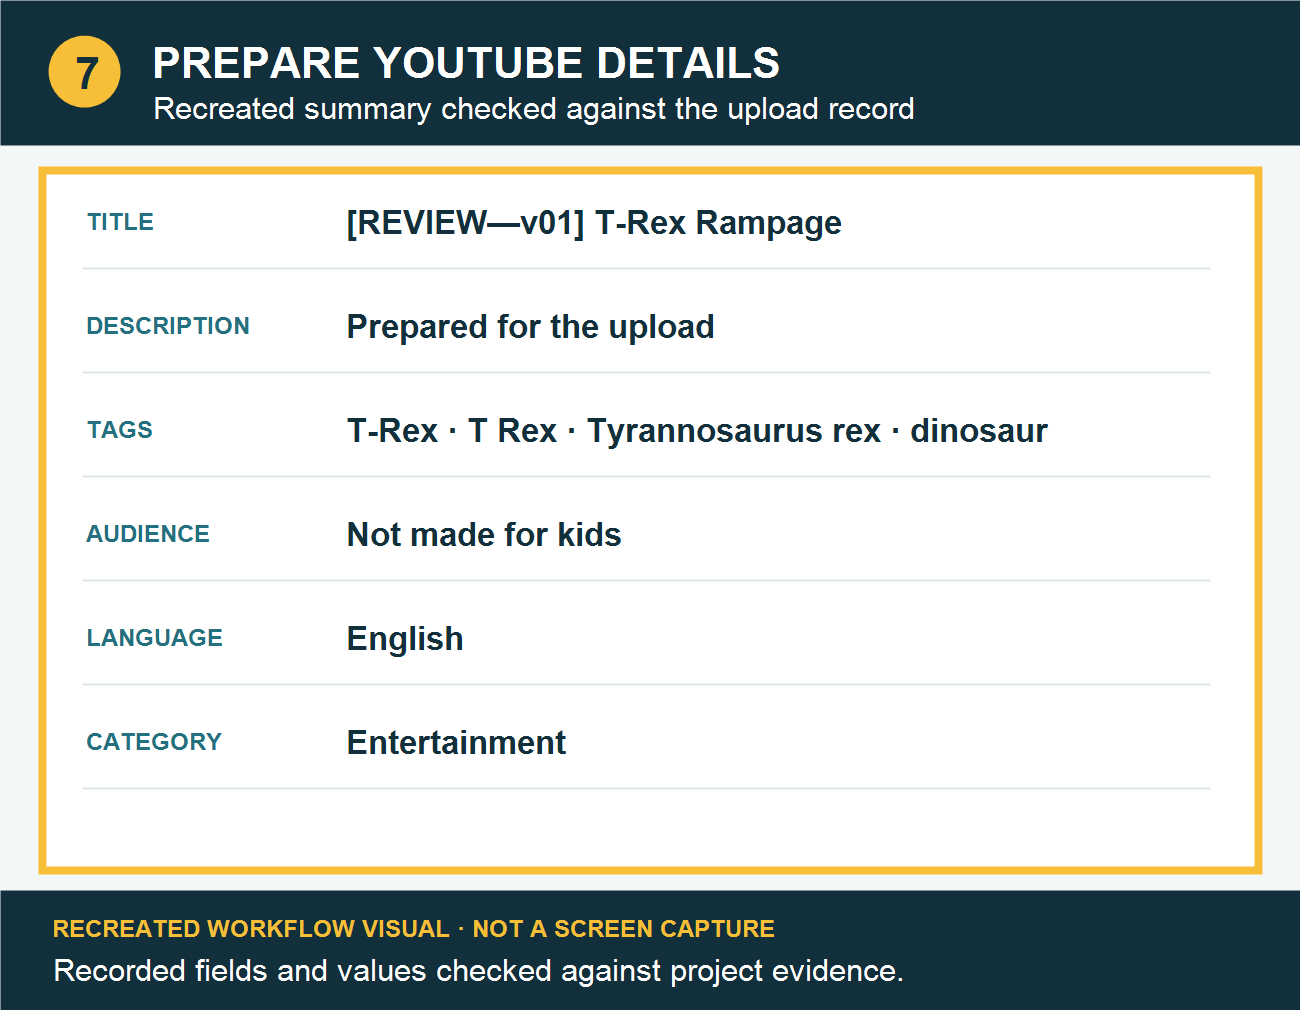
On the Details screen, click the Title field and enter your title. Click the Description field and enter your description. Check the audience question carefully and choose the truthful answer for your video. In the test upload record, the saved title was [REVIEW—v01] T-Rex Rampage, the audience was Not made for kids, the language was English, and the category was Entertainment. The recorded tags were T-Rex, T Rex, Tyrannosaurus rex, and dinosaur.
These are the test’s saved values, not settings everyone should copy. Use your own accurate title, audience choice, language, category, and tags. The original description text was not retained in the source record, so this guide does not invent one.
8. Choose who can watch, then save
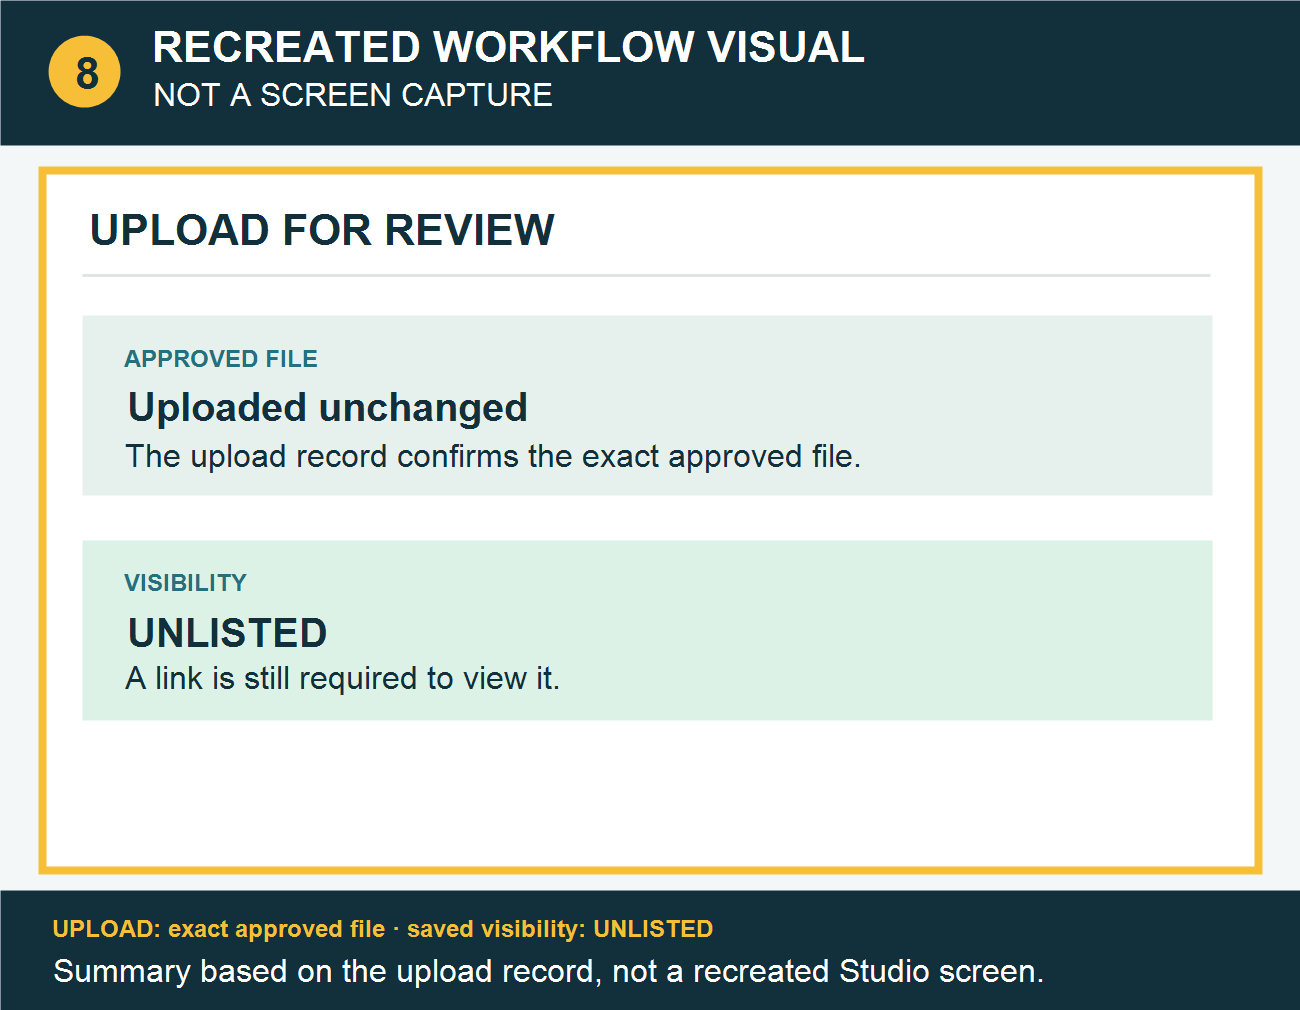
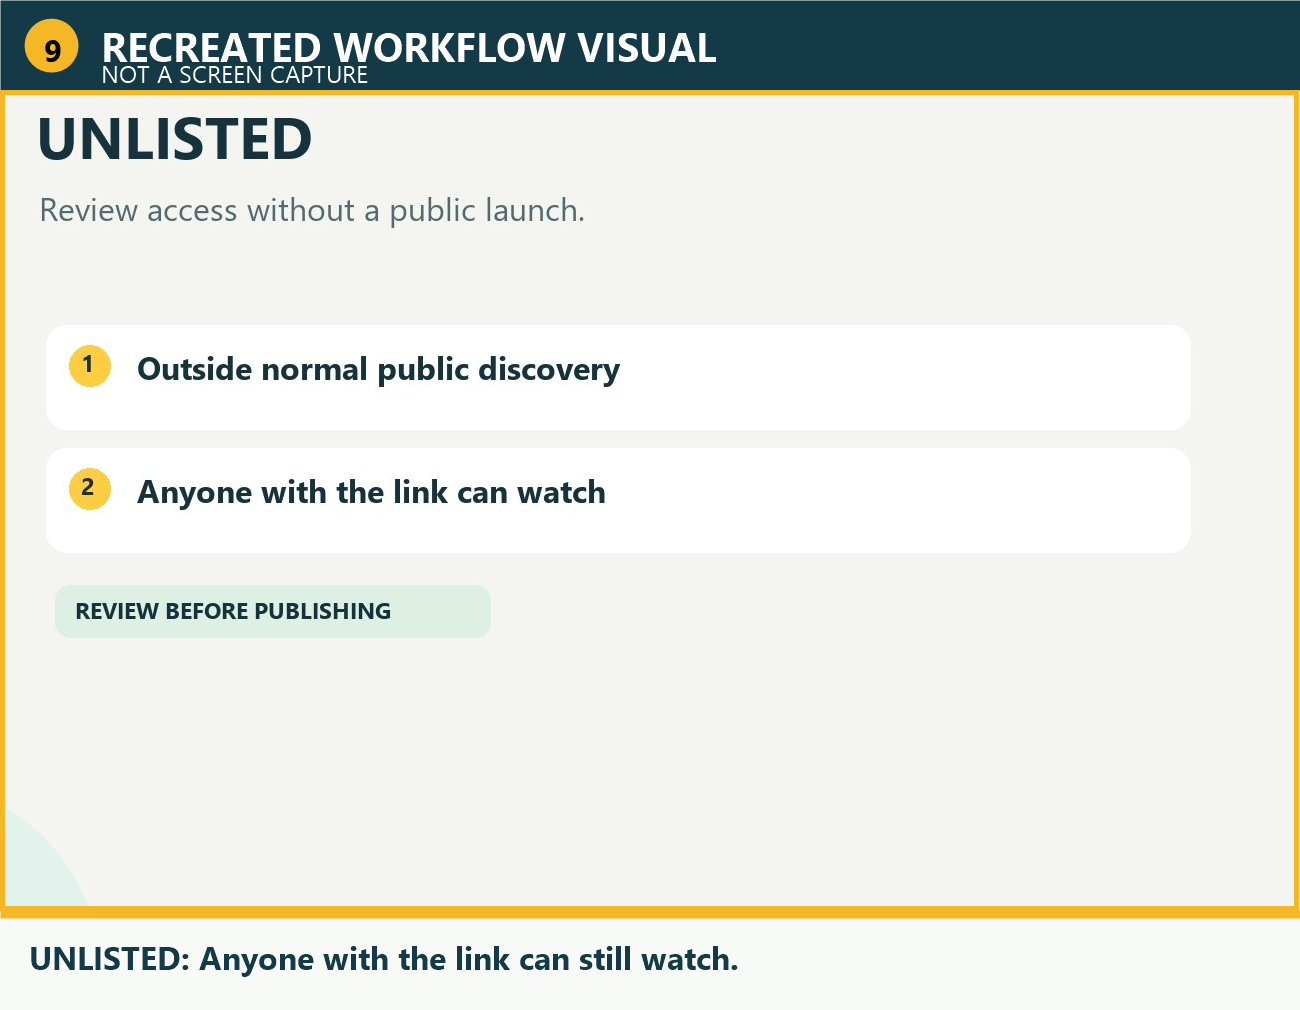
When the upload details are complete, open the Visibility step. Choose Unlisted if you want to review the upload through a link before making it public, then click Save. In the test, the exact locally approved file was uploaded without another edit and saved as unlisted.
Unlisted does not mean private. Anyone who has the link can watch. After YouTube finishes processing, open the video link and check that the upload plays through. Listen to it yourself as well; the original test record did not independently confirm the uploaded audio by listening. The record also says the source music rights were unverified. Do not share that test upload; for your own video, use audio you have permission to publish.
If something goes wrong
- Codex lists the wrong clip: tell it the exact filename to use and ask it to repeat the plan before editing.
- The subject is cut off: do not upload that export. Ask Codex for a new version that keeps the subject’s head and action in frame, then review it again.
- The sound seems out of sync: listen to the whole new export before approving it. The project records a synchronization goal, but it does not preserve app-specific repair clicks.
- You cannot find the output file: ask Codex to report the full path of the exported MP4 and confirm it exists. Open that location in File Explorer.
- You are not ready for everyone to see it: choose Unlisted for a link-based review, remembering that anyone with the link can watch.
What this test showed
Codex can help assemble supplied footage, but the person still has the important jobs: give a clear brief, check the files, watch and listen to the export, and approve the exact version before upload. That is what made this a supervised test—not “go away and hope the computer makes something good.” The hamburger break was optional.