

Getting a result is the easy part. Before you copy the text, use the audio, or send an image along, take a moment to check what PowerToys actually produced. This is the results companion to the full PowerToys walkthrough; it sticks to the checks, so you can skip the déjà vu. On a phone, tap a screenshot to open it larger.
1. OCR: compare the words with the picture
In the recording, the source image says “THE CLICK TEST” and ends with “Test number: 4827.” After PowerToys turns the picture into selectable text, compare the result with the image itself. Names and numbers deserve an extra look: an O can look like a zero, and one wrong digit can send a perfectly polished note to the wrong place.
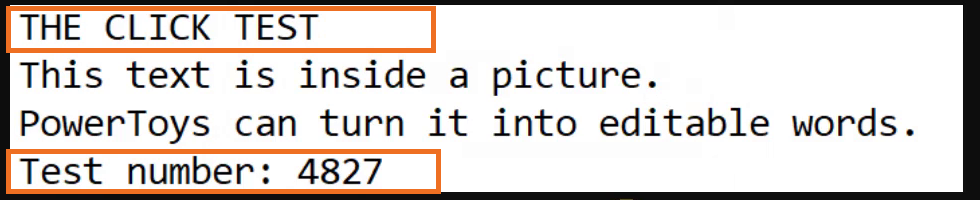

The sample matches on those details. That is one example, not an accuracy score. For anything important, check the extracted text against the original before using it.
2. MP3: confirm the file exists, then listen through it
The recorded result shows San marcos 6.mp3 beside the original San marcos 6.mp4. Seeing both files confirms that a separate MP3 was created and the video is still there. It does not tell you whether the audio sounds complete.
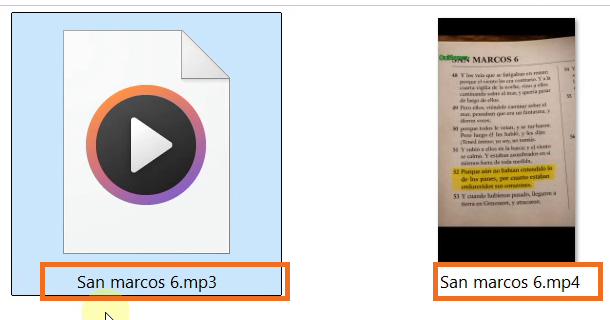
Open the MP3 and listen near the beginning, somewhere in the middle, and near the end. Check that speech or music starts where you expect, continues through the middle, and does not cut off early. A file appearing in Explorer is a good sign; it is not an audition.
3. Resize: check the dimensions and the picture
The recording shows three new “Small” copies alongside the originals. In this saved batch, the measured dimensions were:
- Landscape: 1600 × 1000 to 768 × 480 pixels
- Portrait: 900 × 1500 to 480 × 800 pixels
- Square: 1200 × 1200 to 480 × 480 pixels
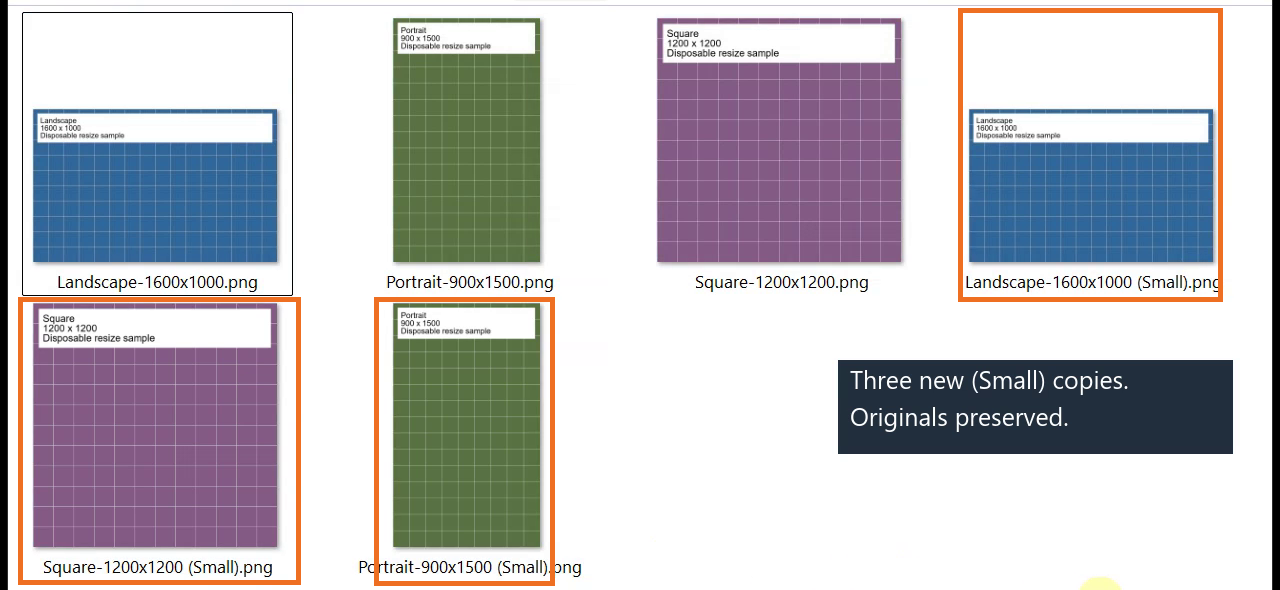
Check an output’s dimensions in its file details, then open it at a useful size. Make sure the subject is still fully in frame, has not been stretched, and is not so small that the image is hard to use. The recorded batch used labeled grid samples rather than photographs, so the subject check is one to do on your own images.
If a result looks off
For OCR, compare the doubtful word or number directly with the source image. For audio, make sure you opened the MP3 and listen at more than one point. For resizing, compare the original and output dimensions and inspect the image itself; a smaller pixel count does not automatically make a usable picture.
One last check
These checks answer three simple questions: did the text match, did a separate audio file appear and play through, and did the resized image keep the dimensions and framing you needed? That is a more useful finish line than “the progress bar went away.”
Want the quick video recap? The PowerToys companion Short covers the same three outcomes. For the click-by-click walkthrough, use the full tutorial.